Anyone who has painted, painted or paint a wall will probably leave unsightly traces of paint, on the walls and ceilings. It is almost like a rite of passage in the world of DIY. You can avoid them completely by using a professional, if in this case the total cost makes you hesitate, you can yourself apply the paint and avoid traces, after reading this article. Fortunately, the traces of paint on the walls are not too difficult to catch up, even if it takes a little time and a certain «helping hand».
The project is going well and you cover a large part of the surface with the painting of your choice, but you suddenly notice traces on the wall. Whether it is a brand of overlap, a stress or a roll of roller, the result is always the same: it is not beautiful to see. Let’s see how it happens.
Why are there traces of roller after painting?
Do you have the right tool? This can sometimes be the cause of the problem, if you use cheap and poor quality rolls. Most often, the roller brands occur when you have not loaded your roller with enough paint, or when you have exhausted the paint in your roller and try to cover more surface than you should. Finally, if you do not exercise sufficient pressure, the paint can be pushed back to the edge of the roller, which creates traces.
Do the streaks disappear when the paint dry?
If you see streaks in your painting when it is still humid, there is a good chance that they are still present once the paint is dry. Unfortunately, you will therefore have more work to make them disappear.
Will a second layer of paint cover the roller brands?
Some painters are waiting for the paint to be completely dry before repairing the roller brands. The second (or third) paint layer on the «Oops» areas will equalize the brands and give you a flat and uniform finish.
How to get rid of paint roll brands?
Another option for areas with a relief roll brand is to make it disappear with sandpaper once the paint is completely dry. Then wipe the areas where you sanded and add another layer of paint. It has been said that roller brands are part of the process you have to face when you start a DIY painting project. Fortunately, this is a fairly easy problem to solve.
What are the causes of roller brands during painting?
Let yourself go, you are not a professional painter and errors are inevitable. Do you notice the marks in areas where you lacked paint in your roll but where you continued to paint anyway? Or do you see them in the places you just loaded your roll and where you have applied uneven pressure? These are the two most common causes of roller brands. So pay attention to the amount of paint you put on your roll and the pressure you exert while painting.
1. catch up with the roller marks at the raised edges
This is the place where the edges of the roller leave small lines of painting in relief when you pass the roller, almost like lines of demarcation. This happens when the roller is full of paint and is in a hurry too firmly against the wall. To repair these traces of paint on the walls, you must sand the edges in relief. You may have to touch up the wall here and there. Use grain glass paper 180 to 280 and sand lightly. If you ponch too hard, you may take off the surrounding painting, which would imply the application of another layer.
2. Repair the traces of irregular paint on your walls
It happens all the time to new painters. Sometimes painting on the roller starts to disappear faster than we do. Less paint means a lighter layer, which leads to irregular traces of paint on your walls. Fortunately, the solution does not imply sanding. Just wait for the paint to be completely dry, then apply a new layer of paint. If the painting is not completely dry, it can still seem uneven after another layer of paint.
3. Hide the remaining brush marks
If you painted with a brush on your wall and you see remaining brands, you can get rid of it. If the edges are in relief, you must follow the same steps as for the roller brands. Punct the parts in relief and touch them up if necessary. For irregular brush marks, apply another layer of paint until you no longer see them. Try to avoid painting in the same places so that the edges do not become more visible.
4. Apply the sub -layer for paint
Apply the sub -layer above all, here is the key to success for an opacifying finish painting without traces! The sub -layer is the means of regulating the absorption of the paint that will follow, because it prevents the water contained in the paint be too quickly absorbed by the support, which would create traces of unsightly paintings. It also provides good mechanical grip and thus promote the comfort of applying the finishing paint.
Latest Posts Published
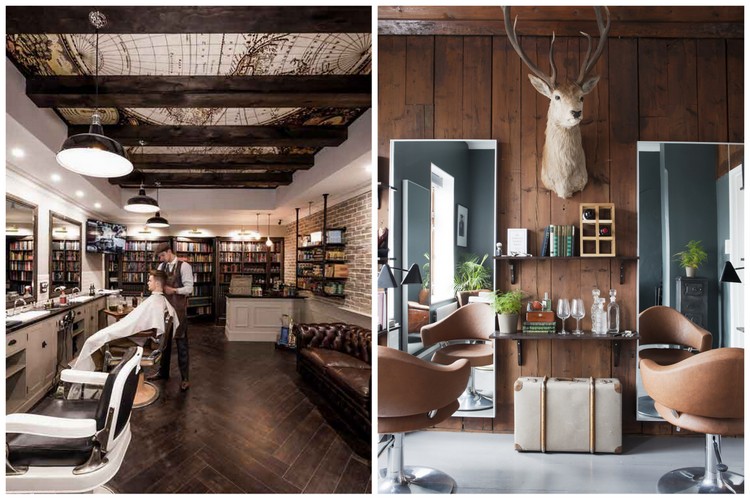
Decoration Beauty Institutes and Hairdressing Salons
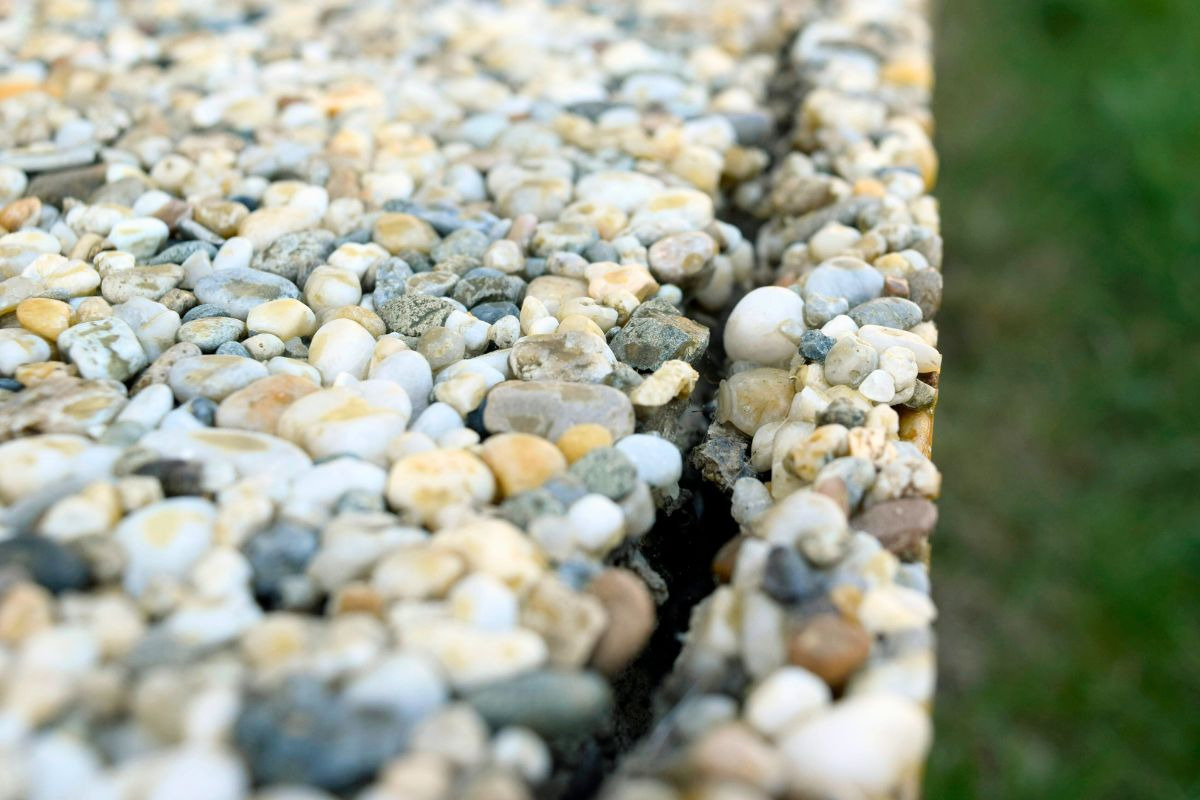
Stone carpet or waxed concrete: which covering to choose for your floor?
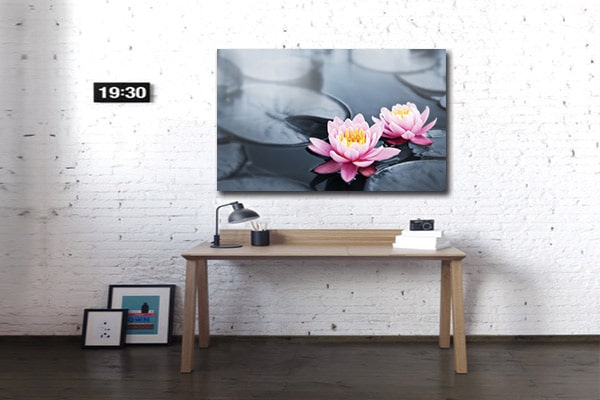
A Zen painting for Christmas
Top 10 of our best waxed concrete
What color for a room in 2024?
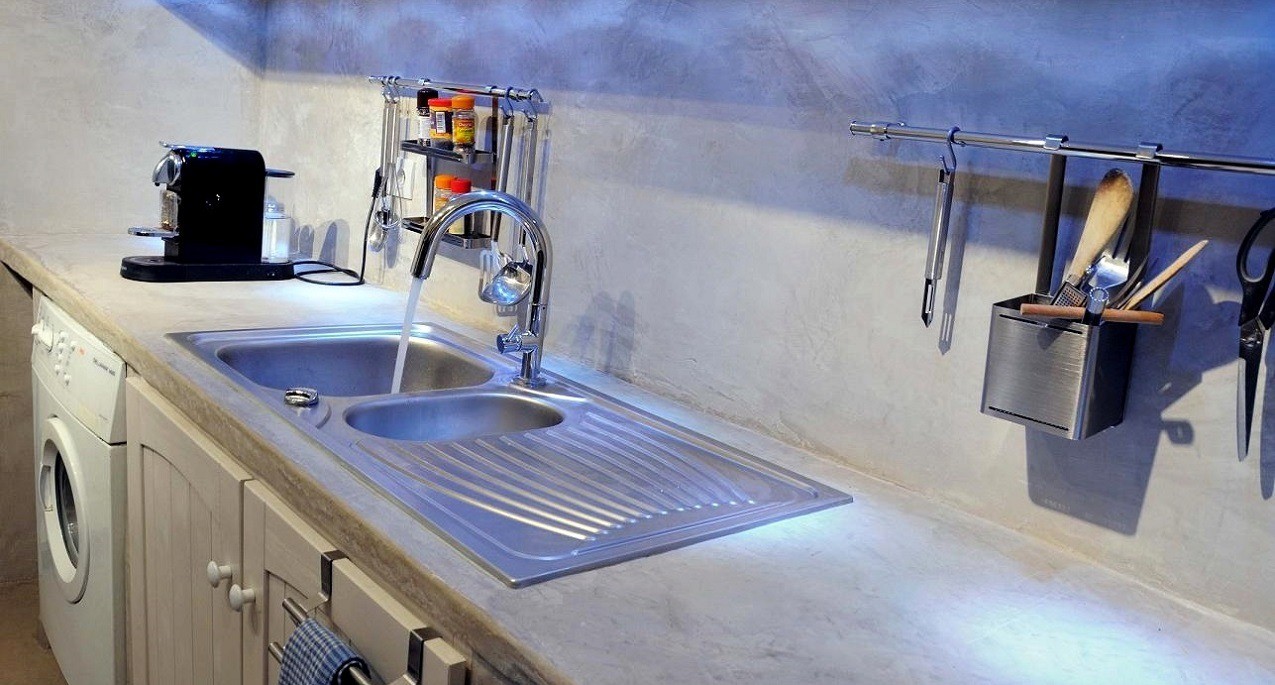
Waxed concrete in Gréasque – Waxed concrete expert

Russian doll children’s rooms: novelty

When not to make concrete?
Colorful tag lion table: novelty